
Google Travel Campaigns Setup Guide
Overview
This guide helps Magpie customers who are already managing Google Things to do feeds set up Google Travel Campaigns (also known as Things to do Ads) in their Google Ads accounts. Follow each step carefully and allow time for Magpie to process your linking request before creating campaigns.
Step 1: Open Data Manager
Access the Data Manager section within your Google Ads account's Tools menu.
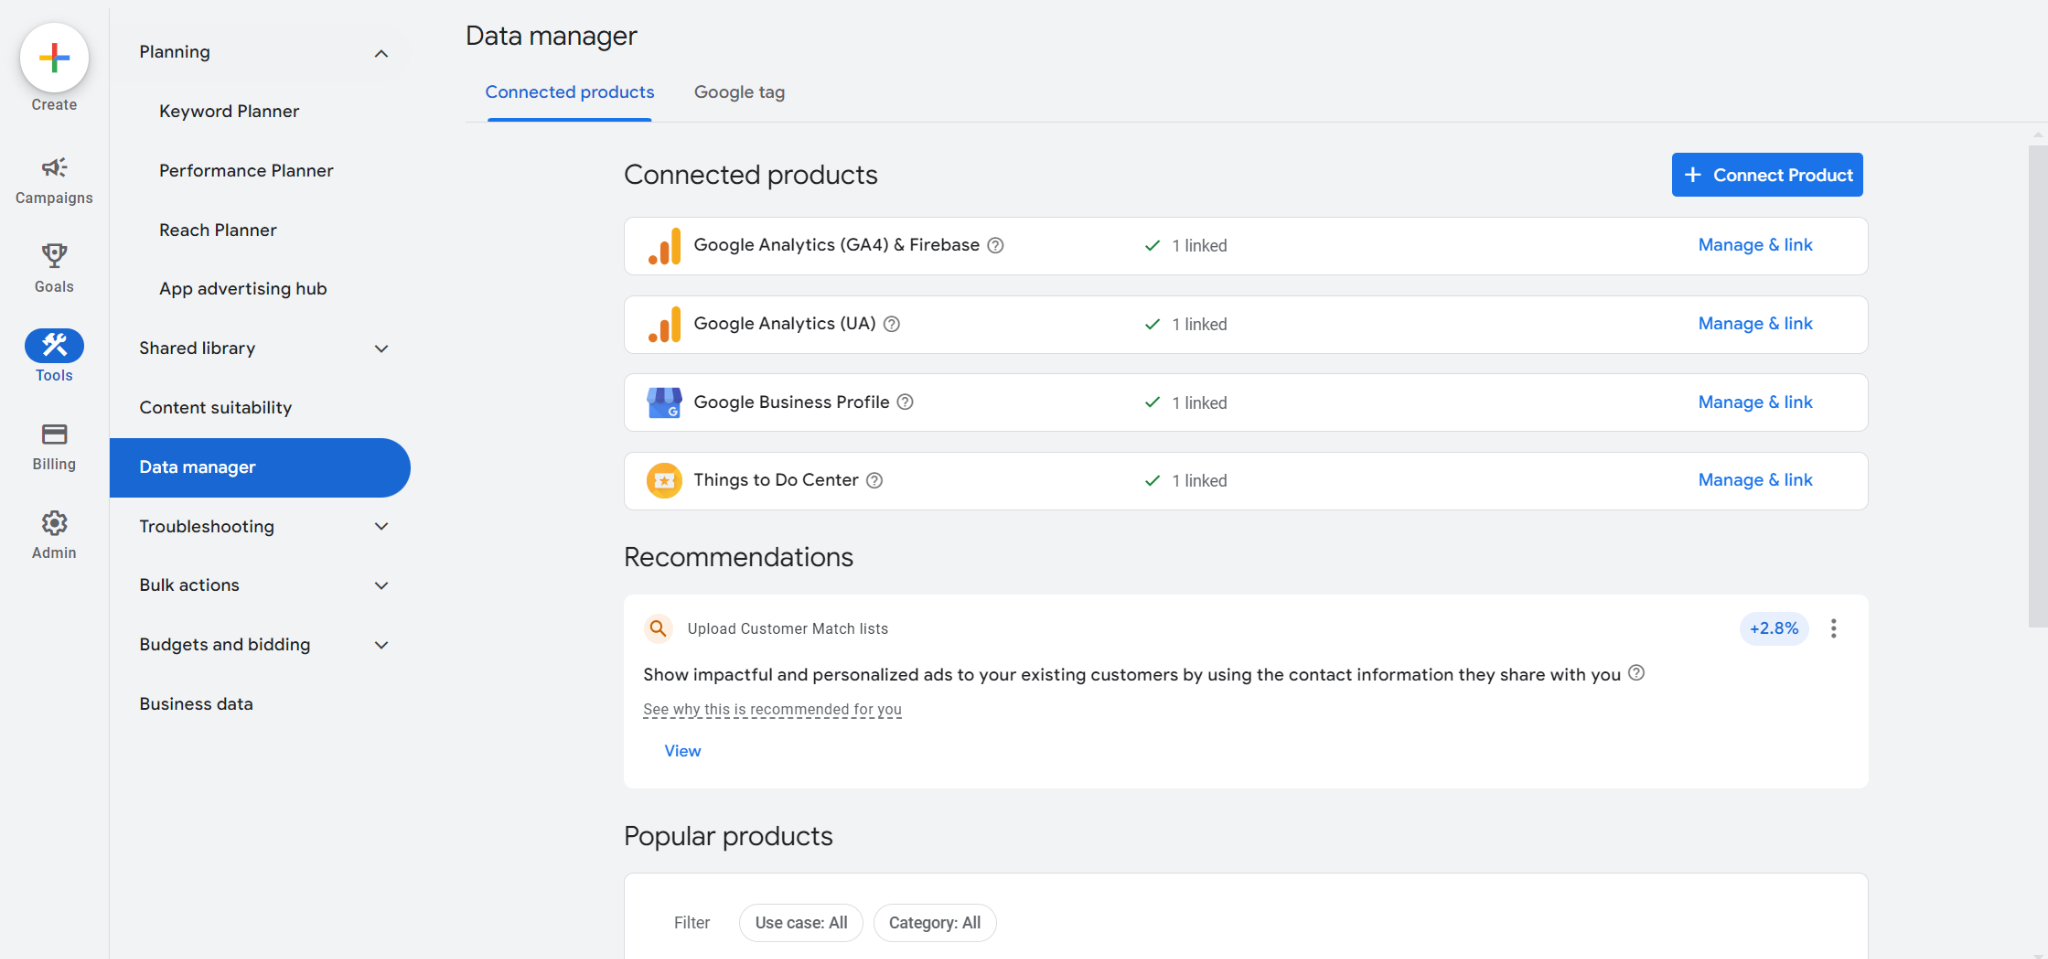
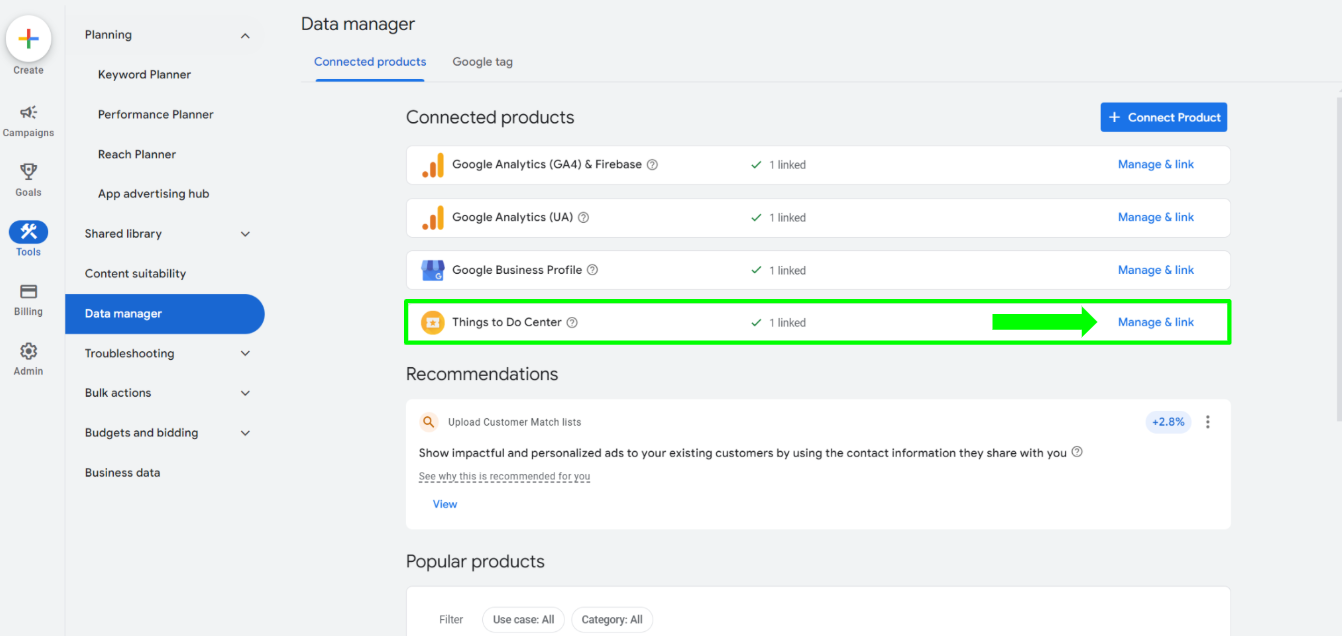
Step 2: Manage and Link
Click Manage and Link on the Things to do center list item.
Step 3: Link Things to Do Center
Select the Link Things to Do Center button.

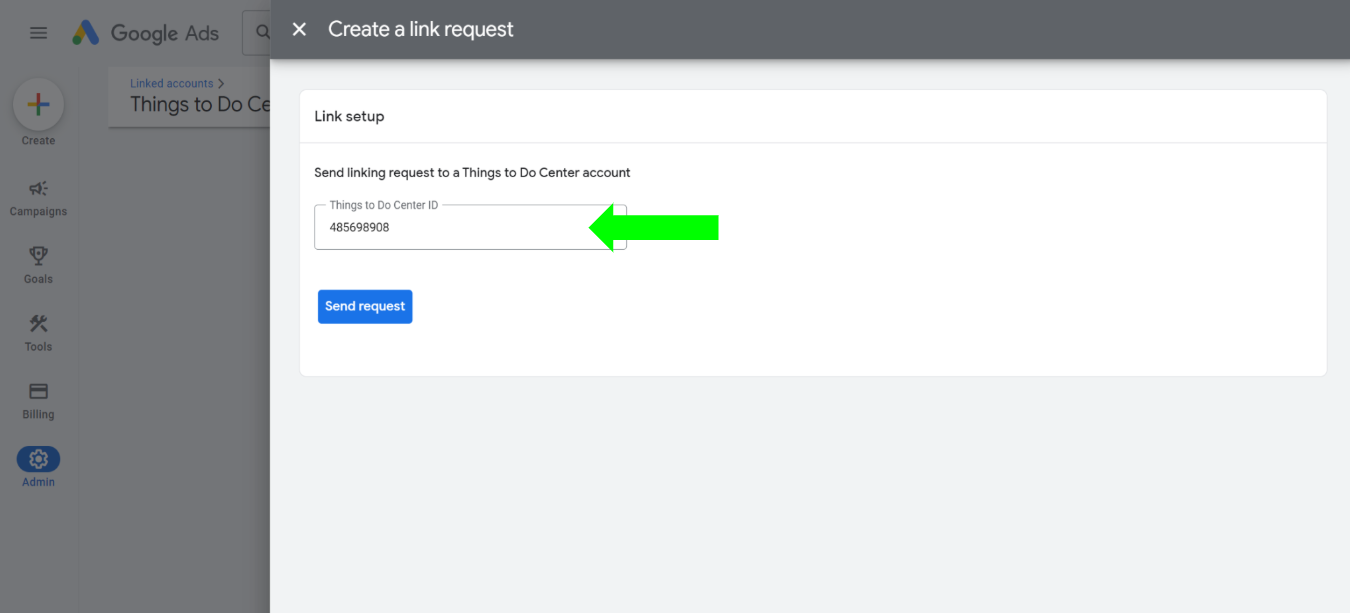
Step 4: Enter the Magpie Feed ID
In the Things to do center ID field, enter 485698908 (this is the Magpie Feed ID), then click Send request.
Step 5: Notify Magpie
Complete the form below to let Magpie know you have requested an Ad account linking.
Step 6: Wait for Confirmation
Allow 24 to 48 hours (Monday through Friday) for Magpie to accept your connection request and upload your Product Feed IDs before proceeding to the next step.

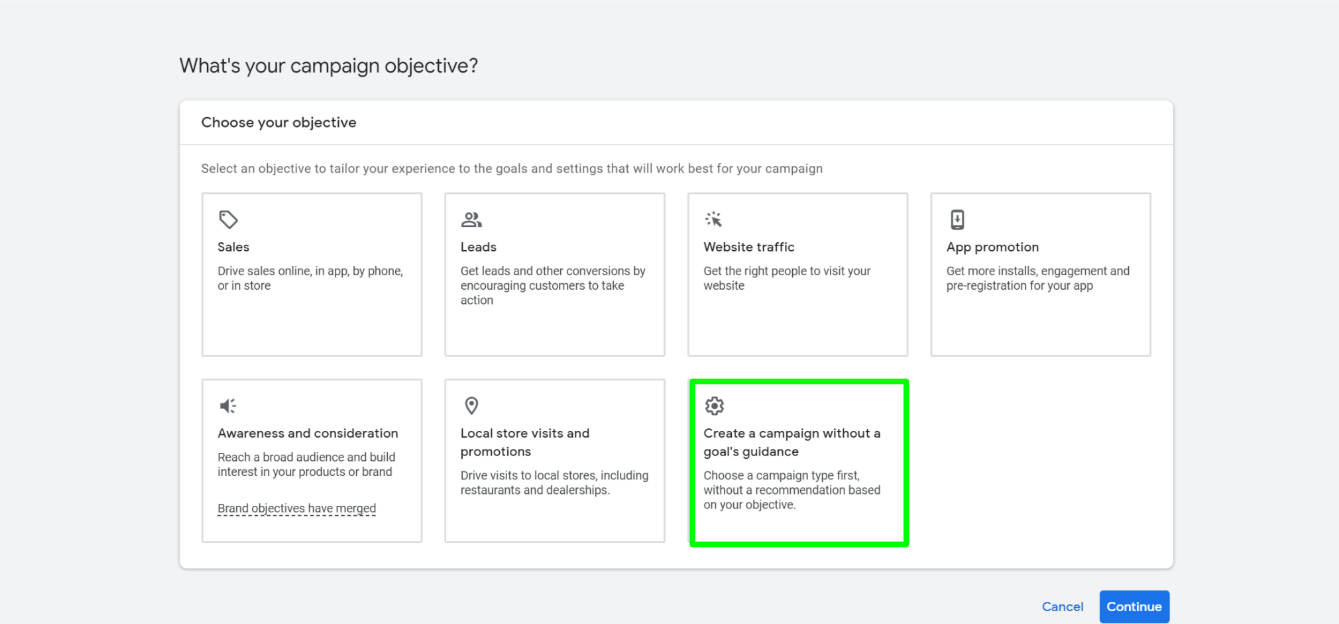
Step 7: Create a Campaign
Once linked, select Create a campaign without a goal's guidance as your campaign objective.
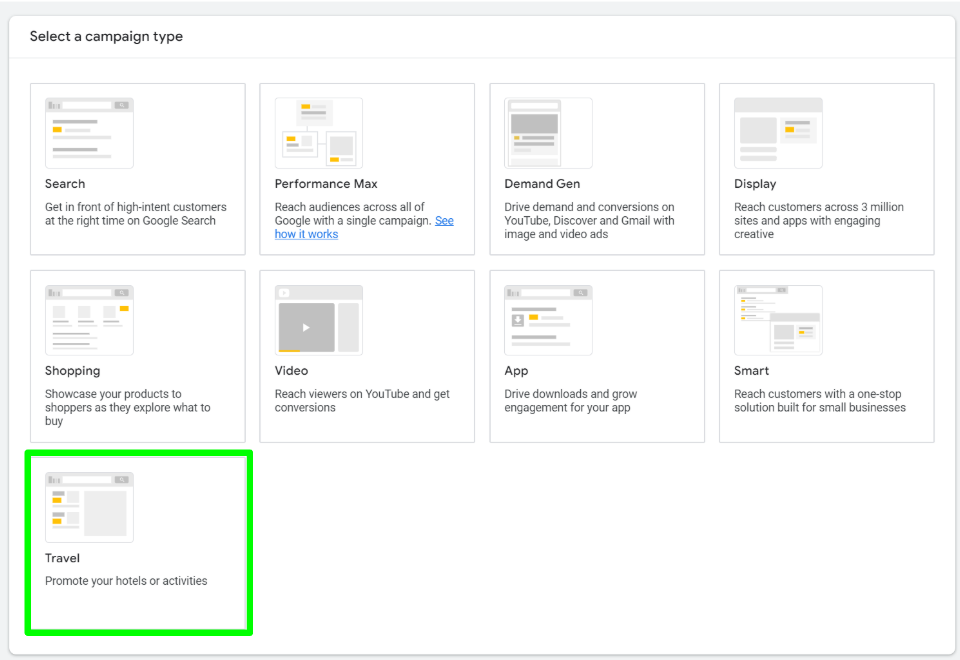
Step 8: Choose Campaign Type
Select Travel as your campaign type.
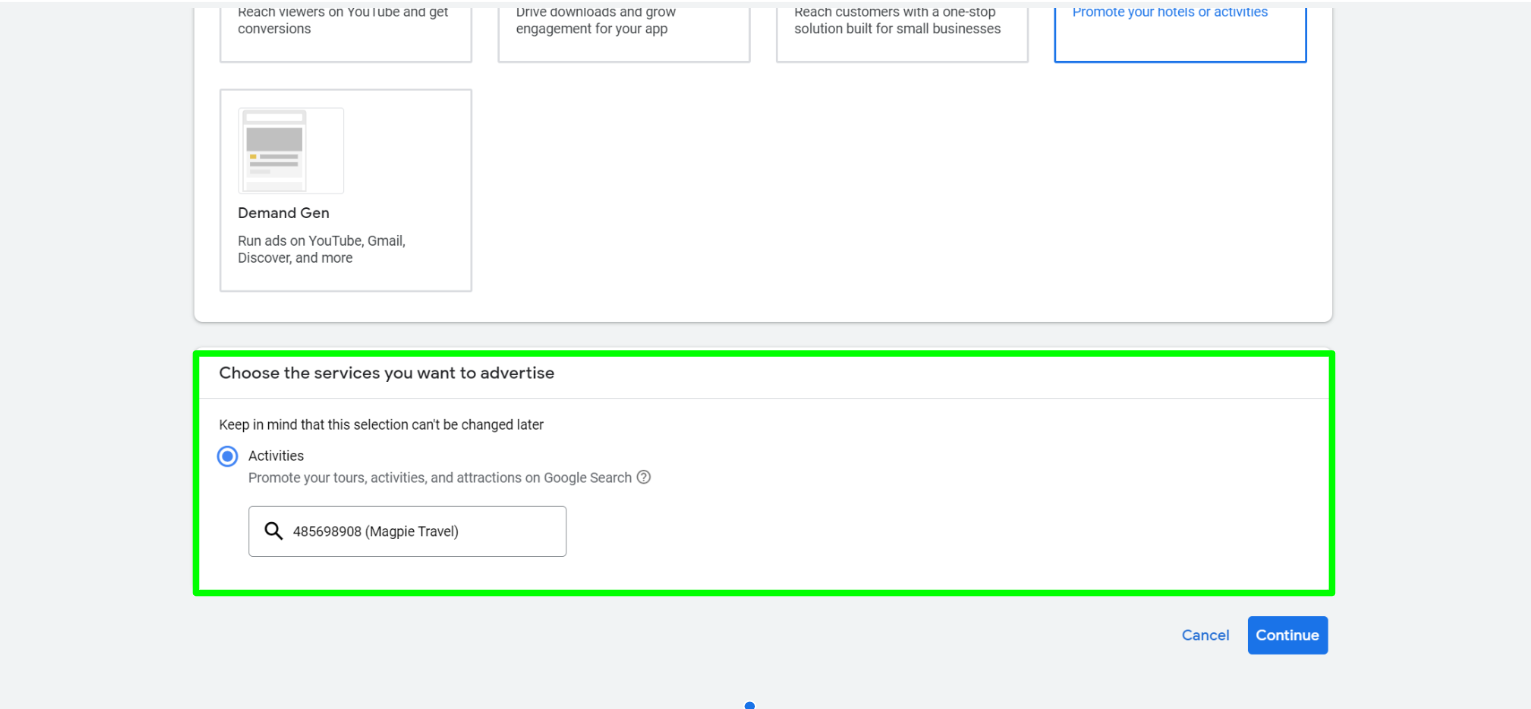
Step 9: Select Activities
Choose Activities under services to advertise, select your linked feed, and continue.
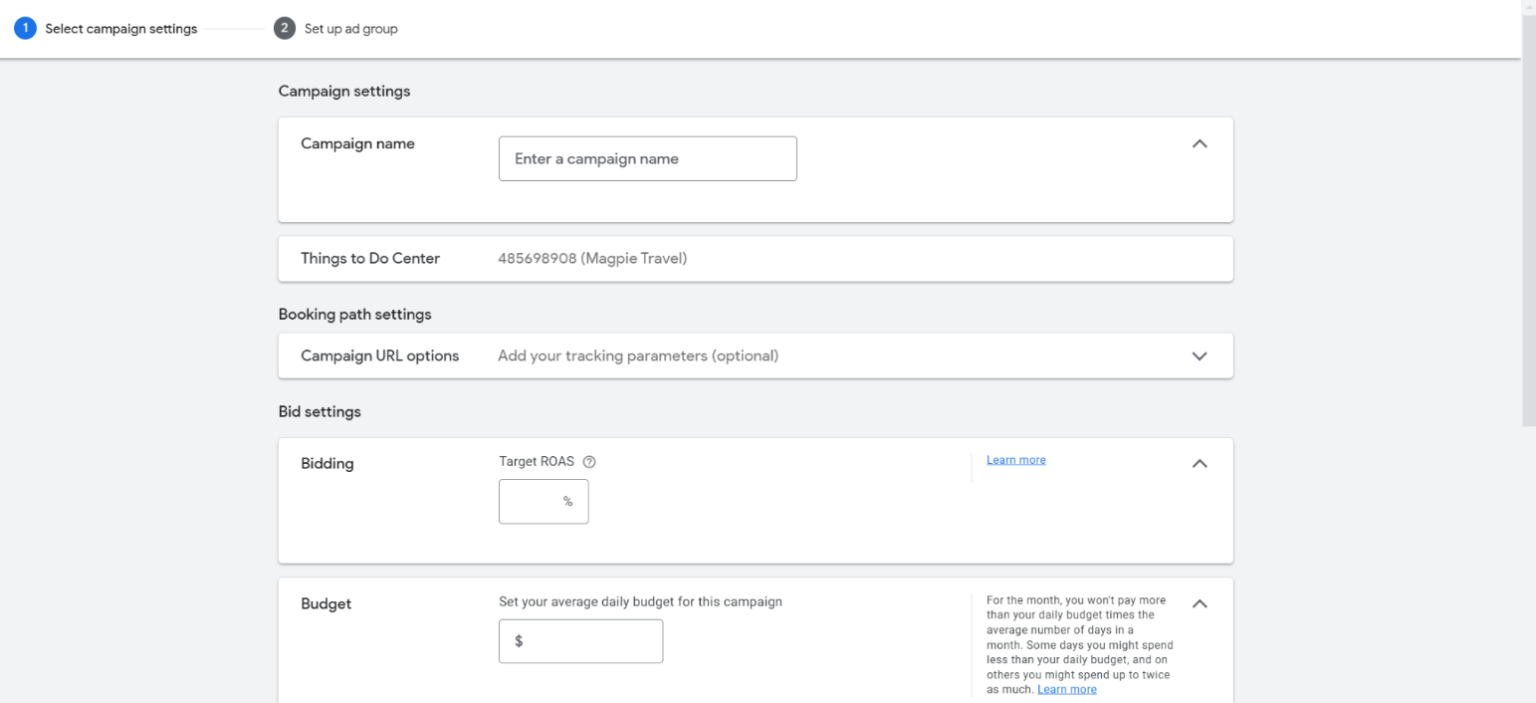
Step 10: Configure Campaign Settings
Set up your campaign with:
- Campaign name - choose something descriptive
- Tracking parameters (optional)
- Target ROAS - Google recommends starting around 200%
- Daily budget - set your preferred daily spend
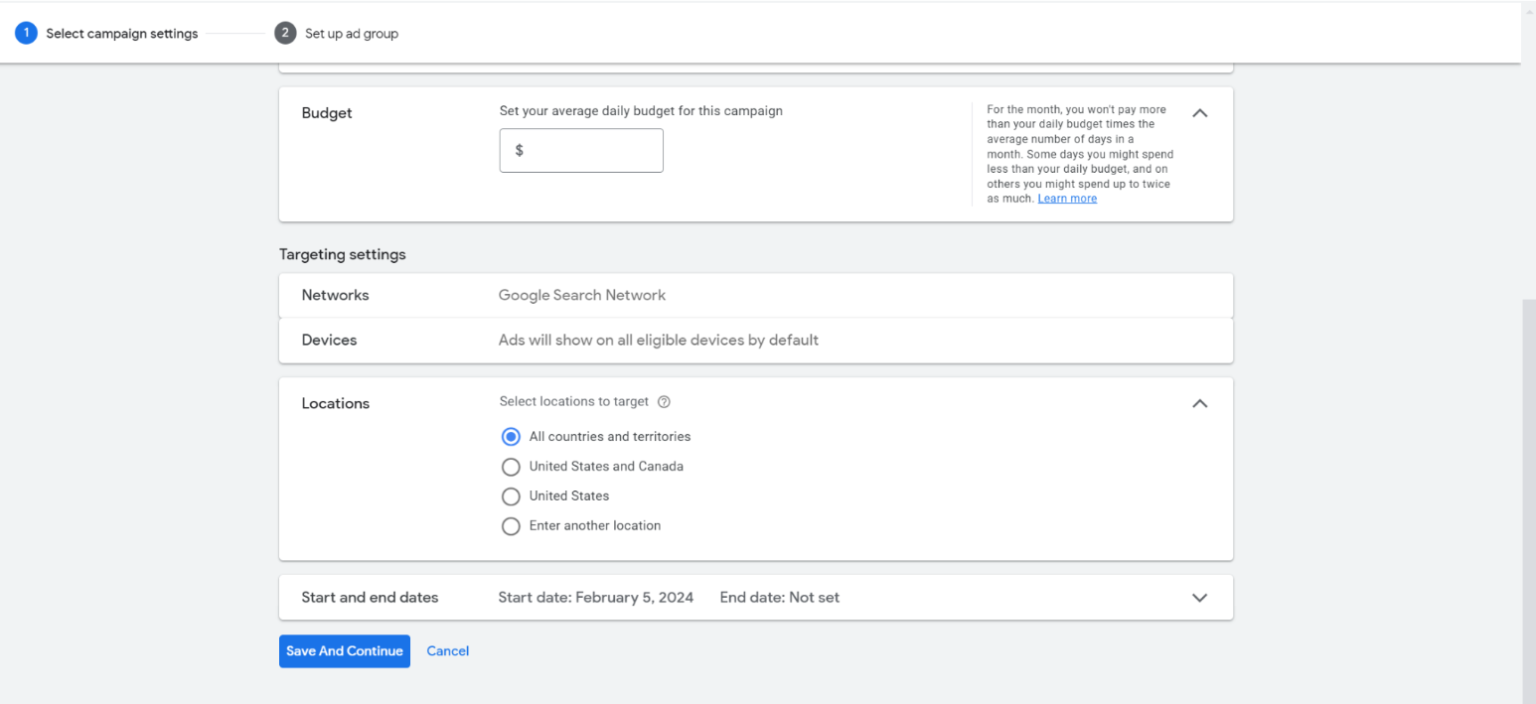
Step 11: Set Targeting
Configure your target customer locations and establish campaign start and end dates.
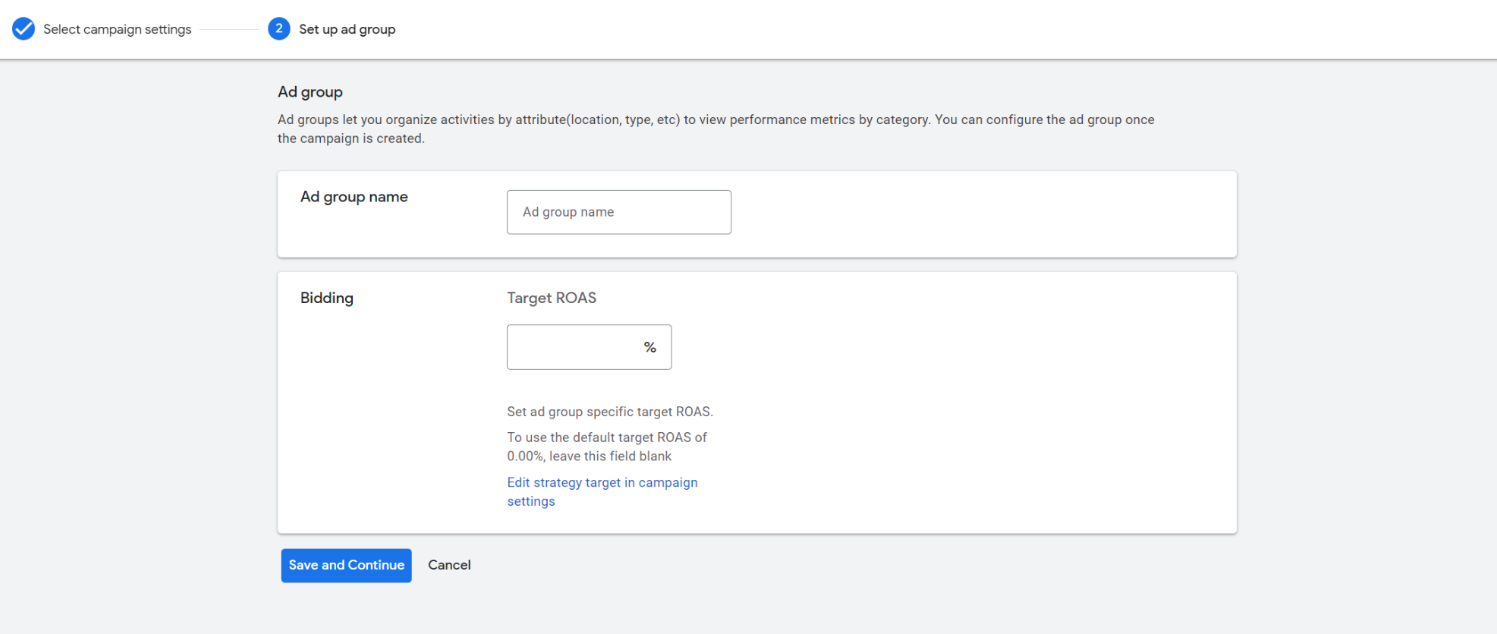
Step 12: Create Ad Group
Name your Ad Group and optionally set a different Target ROAS for this specific group.
Step 13: Add Product Subdivisions
Click the arrow next to All Activities to add subdivisions for targeting specific products.

Step 14: Select Activities
Choose Activity ID from the dropdown, select the desired activities, and click Save without editing bids.

Step 15: Activate Bidding
Change the status from Excluded to Automatic for the Maximum Conversion Value column and save your settings. Your campaign is now live!

Support
If you need additional assistance with your Google Travel Campaign setup, contact the Magpie team for help.